Picture this: you plug in your external hard drive, ready to dive into your favorite photo album or pull up that massive school project you spent weeks perfecting. Instead of your files popping up, your computer screen flashes a scary warning message, or worse, nothing happens at all. Your heart drops. Your precious memories, important documents, and hours of hard work feel like they vanished into thin air.
Do not panic. Your data is likely still sitting on that drive, waiting to be rescued. This comprehensive guide will walk you through the exact, safe steps to recover your files on Windows 11 without losing your mind.
Understanding the Hidden Enemy: What Is Disk Corruption?
Before you start clicking buttons, it helps to understand what actually happened to your drive. Think of your external hard drive like a massive digital library. The files are the books, and the file system is the librarian’s master catalog. When a drive becomes corrupted, it usually means the master catalog got messed up, not that the books were burned.
Physical Damage vs. Logical Corruption
There are two main reasons a hard drive stops working properly, and knowing the difference determines whether you can fix it at home or if you need to send it to a specialist.
- Logical Corruption: This happens when software glitches, sudden power cuts, or improper unplugging mess up the digital organization of the drive. The physical parts inside the drive are perfectly healthy, but Windows 11 cannot read the map anymore. This guide focuses on fixing this specific issue.
- Physical Damage: This happens if you drop your drive, spill water on it, or if the internal components wear out from old age. If your drive makes clicking, grinding, or buzzing sounds, stop using it immediately. No software can fix a broken motor or a scratched internal disk, and trying to run it could destroy your data forever.
Common Warning Signs of a Corrupted Drive
Your computer usually drops clues before completely locking you out of your data. Keep an eye out for these red flags:
- Windows 11 asks you to format the disk before you can use it.
- File names suddenly change into strange, unreadable symbols.
- The drive shows up in your system as “RAW” instead of NTFS or exFAT.
- Transferring files takes an unusually long time or freezes halfway through.
- You get an error message saying the drive is “Location is not available” or “Access is denied.”
The Ultimate Golden Rule: Protect the Source Drive
When you realize a drive is corrupted, your first instinct might be to download every tool you can find and start scanning wildly. Take a deep breath and remember the number one rule of data recovery: Never write new data to the corrupted drive.
Every time you save a new file, download a program directly onto that drive, or even alter existing files, you risk overwriting the very data you want to save. Think of your deleted or lost files like footprints in the snow. If you walk over them, you erase them. To keep your data safe, always download recovery software onto your internal computer drive and save recovered files to a completely different, healthy storage device.
Step 1: Check the Basics First
Sometimes, the simplest explanation is the right one. Before diving into advanced technical fixes, rule out basic hardware connection issues that might mimic disk corruption.
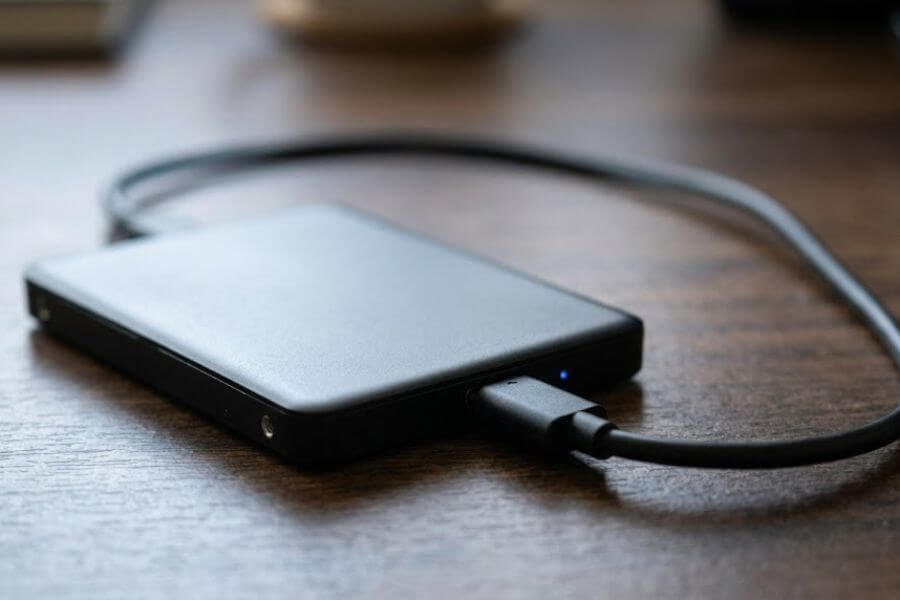
Swap the Cable and Port
Cables break down over time. Internal wires can fray, causing unstable connections that make Windows 11 think your drive is corrupted. Swap out your current USB cable for a brand-new one.
Additionally, try plugging the drive into a different USB port on your computer. If you are using a desktop computer, plug the drive directly into the ports on the back of the computer tower, as these are connected straight to the motherboard and provide more stable power than the front ports.
Test on a Different Computer
Plug your external hard drive into another computer running Windows 11 or Windows 10. If the drive opens perfectly fine on the second machine, the issue lies within your original computer’s operating system, drivers, or USB ports, meaning your data is already safe.
Step 2: Use Built-in Windows 11 Tools Safely
Windows 11 comes with built-in tools designed to repair broken file structures. These tools are fantastic for minor logical corruption, but you must use them carefully.
Checking for Errors with Windows Error Checking
Windows has a graphical tool that scans your drive for file system errors and attempts to repair them automatically.
- Open File Explorer by pressing the Windows Key + E on your keyboard.
- Click on This PC in the left-hand sidebar.
- Find your external hard drive under the “Devices and drives” section.
- Right-click on the drive icon and select Properties from the menu.
- Navigate to the Tools tab at the top of the window.
- Under the “Error checking” section, click the Check button.
- If Windows says it has not found any errors, click Scan drive anyway to force a deep inspection.
Running CHKDSK via Command Prompt
The Check Disk tool, known as CHKDSK, is a more powerful command-line version of the error-checking utility. It searches the drive, repairs bad sectors, and fixes directory errors.
Important Warning: While CHKDSK is highly effective, it can occasionally misidentify damaged data and permanently delete files it deems unfixable. If your data is incredibly rare or irreplaceable, skip this step and move straight to using dedicated data recovery software first.
If you want to proceed with CHKDSK, follow these exact steps:
- Click the Windows Start menu button and type cmd.
- Right-click on Command Prompt in the results and choose Run as administrator.
- Identify the exact drive letter assigned to your external hard drive (for example, drive E: or drive F:).
- Type the following command into the black window, replacing the letter “X” with your actual external drive letter:
chkdsk X: /f /r - Press Enter on your keyboard.
The /f switch tells the computer to fix any errors it finds, while the /r switch tells it to locate bad physical sectors on the drive and recover any readable information from them. This process can take anywhere from a few minutes to several hours depending on the size and speed of your drive. Do not close the window or unplug the drive while this scan is running.
Step 3: Use Dedicated Data Recovery Software
If the built-in Windows tools do not do the trick, or if you want to play it extra safe by extracting your files before making repairs, third-party data recovery software is your best option. These programs bypass the broken Windows file system map and read the raw binary data directly from the storage chips or disks inside your drive.
Choosing the Right Software
There are many data recovery tools available today, ranging from completely free open-source utilities to premium professional suites. Here is a quick comparison of the top choices to help you decide which one fits your needs:
| Software Name | Best For | Pros | Cons |
| Windows File Recovery | Advanced users who love free tools | Created by Microsoft, completely free, powerful | Command-line only, no visual interface, tricky for beginners |
| Recuva | Quick scans on a tight budget | User-friendly interface, unlimited free recovery for basic files | Struggling with heavily corrupted or RAW drives |
| Disk Drill | Visual learners and deep recovery | Beautiful interface, previews files before saving, recovers up to 500MB free | Paid upgrade required for large data amounts |
| EaseUS Data Recovery Wizard | Reliable step-by-step wizard style | Excellent search filters, very reliable for RAW drives | Free version has a strict data limit |
Step-by-Step Guide to Recovering Your Files
Once you choose your software, the general recovery workflow follows the same safe pattern. For this example, we will look at how to use a standard visual recovery tool like Disk Drill or EaseUS on Windows 11.
- Download and Install: Download the recovery software installer using your web browser. Remember to save and install the program on your computer’s internal C: drive, not the broken external drive.
- Launch the App: Open the program. You will see a list of all storage drives connected to your Windows 11 computer.
- Select Your Drive: Click on your corrupted external hard drive from the list.
- Start the Scan: Click the Search for lost data or Scan button. The software will perform a quick scan first, followed immediately by a deep scan that examines every nook and cranny of the drive.
- Browse and Filter: As the scan progresses, you will see folders and files pop up on the screen. Use the sidebar filters to narrow down your search by file type, such as pictures, videos, documents, or audio files.
- Preview Files: Double-click on files like images or text documents to see a preview. If you can see the preview clearly, it means the file is healthy and can be recovered successfully.
- Select Recovery Destination: Check the boxes next to the files you want to rescue. Click the Recover button. A window will ask you where to save the files. Select a folder on your computer’s main internal hard drive, or plug in a second, healthy external drive.
- Complete the Rescue: Click save and wait for the program to copy the recovered files over to their new home.
Step 4: Fix Your External Drive After Saving Your Data
Once your files are safely copied over to a healthy drive, you can focus on fixing the corrupted external drive so you can use it again. The most effective way to wipe away logical corruption is to perform a clean format.
Formatting via Disk Management
Disk Management is a built-in Windows 11 utility that lets you control your storage drives directly.
- Right-click on the Windows Start menu button and choose Disk Management from the list.
- Look through the list at the bottom of the window to find your external drive. It might be labeled as “RAW” or “Unallocated.”
- Right-click on the square drive box and select Format.
- Give your drive a new name in the Volume label box.
- Choose your file system. Select NTFS if you only plan to use the drive with Windows computers, or choose exFAT if you want it to work perfectly on both Windows 11 PCs and Apple Macs.
- Check the box next to Perform a quick format.
- Click OK and confirm your choice. Windows 11 will rebuild the file system map within seconds, making your drive good as new.
How to Prevent Corruption in the Future
Data recovery is a fantastic safety net, but avoiding drive corruption entirely is always the best path forward. Follow these simple daily habits to keep your external drives healthy for years to come.
Always Use the Safely Remove Hardware Option
When you unplug a drive while it is writing data, you interrupt the file system librarian right in the middle of writing down its notes. This is the single biggest cause of drive corruption.
Before pulling out the USB cable, look at the bottom-right corner of your Windows 11 taskbar. Click the small up-arrow icon, find the tiny USB icon, and click Safely Remove Hardware and Eject Media. Wait until you see the confirmation message telling you it is safe to unplug before pulling the cord.
Avoid Sudden Power Cuts
If you live in an area prone to lightning storms or frequent power outages, consider investing in an Uninterruptible Power Supply, also known as a UPS. A UPS acts as a temporary battery backup system that keeps your computer running smoothly during a power dip, giving you plenty of time to save your work and safely shut down your external drives.
Keep Your Storage Drives Cool and Stationary
Traditional external hard drives contain spinning glass or metal platters and a tiny mechanical arm that reads data. If you bump, drop, or shake the drive while it is plugged into your computer, that tiny arm can crash into the spinning disk, causing catastrophic physical damage. Keep your drive resting flat on a stable surface away from the edge of your desk, and make sure it has plenty of room around it to breathe so it does not overheat.
Frequently Asked Questions
Why does my external hard drive show up as RAW in Windows 11?
When a drive shows up as RAW, it means Windows 11 cannot find or recognize the file system map on the drive. Since the operating system does not know whether the drive is formatted in NTFS, exFAT, or FAT32, it treats it as raw, unorganized digital space and prevents you from opening files until you assign a clean file system to it.
Can I recover files from an external drive that won’t turn on or spin?
If your drive shows no signs of life, meaning no lights turn on, you hear no sounds, and you cannot feel any slight vibration from the internal motors spinning, the problem is mechanical or electrical. Software cannot fix this issue. You will need to contact a professional data recovery lab that can disassemble the drive in a sterile clean-room environment to salvage the files.
Is it safe to use free data recovery tools to rescue my files?
Yes, using reputable free data recovery software is completely safe, provided you follow the golden rule of never installing the software onto the corrupted drive itself. Free tools like Windows File Recovery or the free tier of Disk Drill are great for scanning and copying your data without altering the source files. Avoid any untrusted software that demands upfront payment just to view your files.
Does formatting an external hard drive erase all my data forever?
A quick format does not wipe the actual data off the disk platters; it simply clears out the old file system index map and tells Windows that the space is now empty and ready for new files. Your old data remains hidden underneath until you start saving new files over it. However, a full format does overwrite the entire drive with zeros, which makes data recovery impossible.
How long does it usually take to run a deep scan on a corrupted drive?
The length of a data recovery scan depends directly on the physical size of your external hard drive and its connection speed. A small, fast drive might take thirty minutes to scan, while a massive four-terabyte desktop drive can take twelve to twenty-four hours to finish a deep scan. Be patient and leave your computer plugged in and running until the process wraps up.


